Setup Guide
Step-by-step instructions for setting up your WalkWise by Drive device and the Communication Node.
Should you need help with any step, please contact walkwise@drivemedical.com or call 805-242-8015 for assistance.
Set up your account and subscription
If you have not already done so, open up the camera app on a smartphone or tablet and scan the QR code on the back of the WalkWise device.
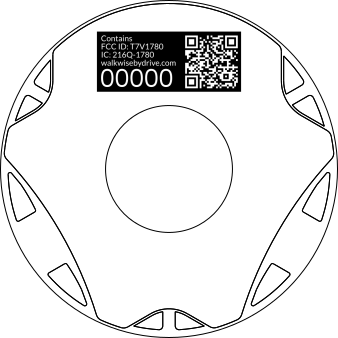
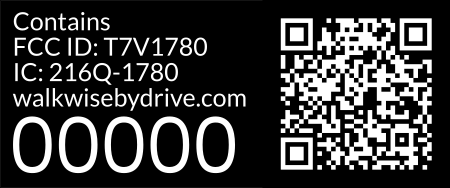
If you cannot scan the code, visit setup.walkwisebydrive.com.
Set up your account using an email, a Google account, or an Apple ID. If using an email address, make sure to check your Spam folder for the confirmation email.
Choose a subscription option to complete setup and give your account access to the device data.
If someone else has already completed this step, ask them to add you to the Care Circle in the Settings page.
Plug in the Communication Node
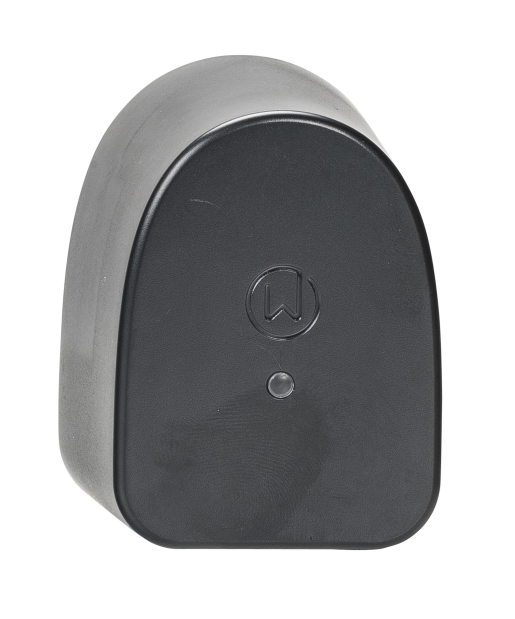
Plug it into an outlet that is not controlled by a switch. A place near the living area or bedroom is ideal.
Connect to the Node
Using any smartphone or tablet, open up the device’s Wi-Fi settings. Under the list of networks, select “WalkWise Node”.
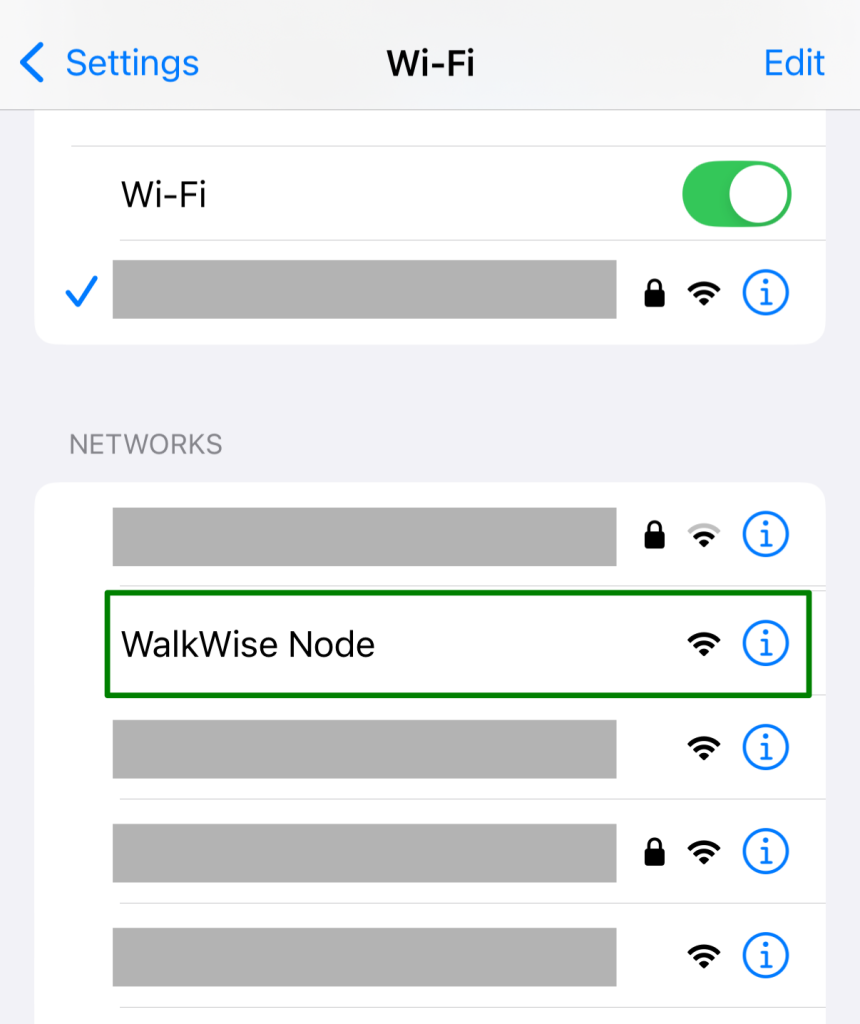
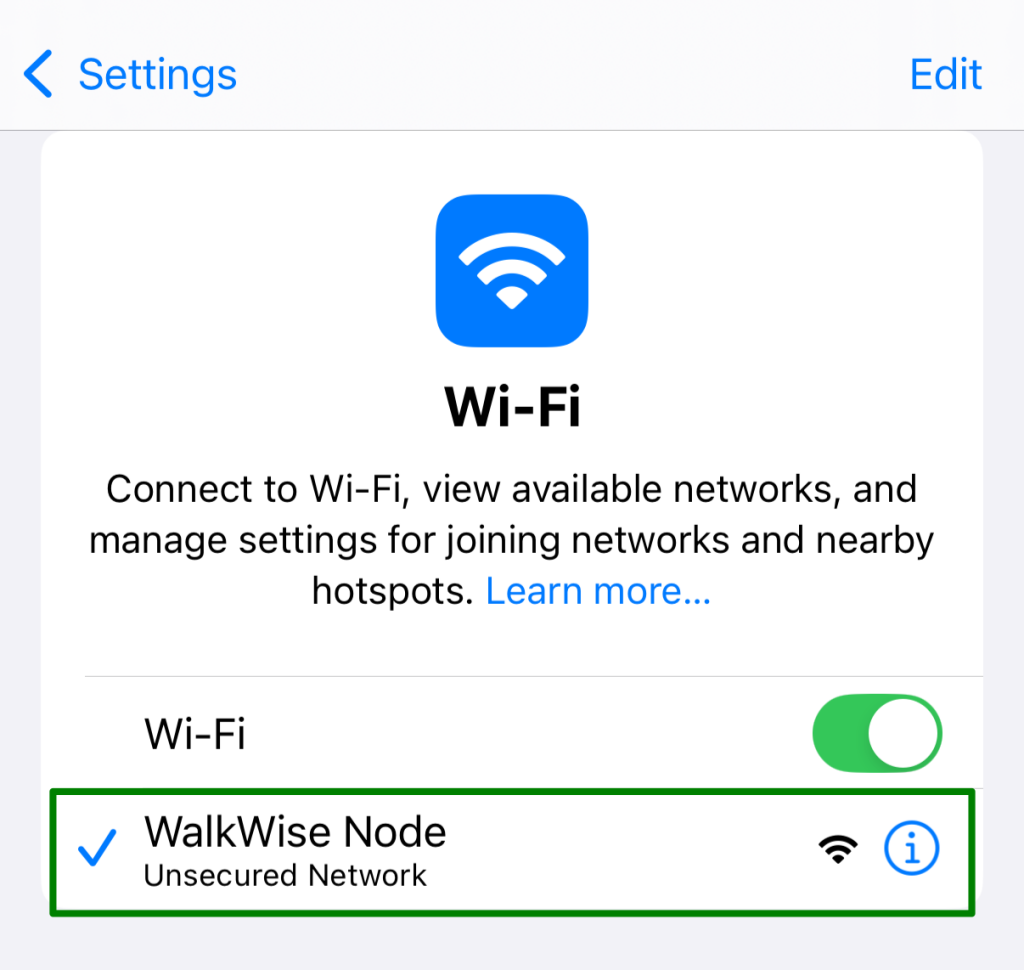
The setup screen should pop up on your device shortly. If it does not, visit walkwise.net using a browser on your device.
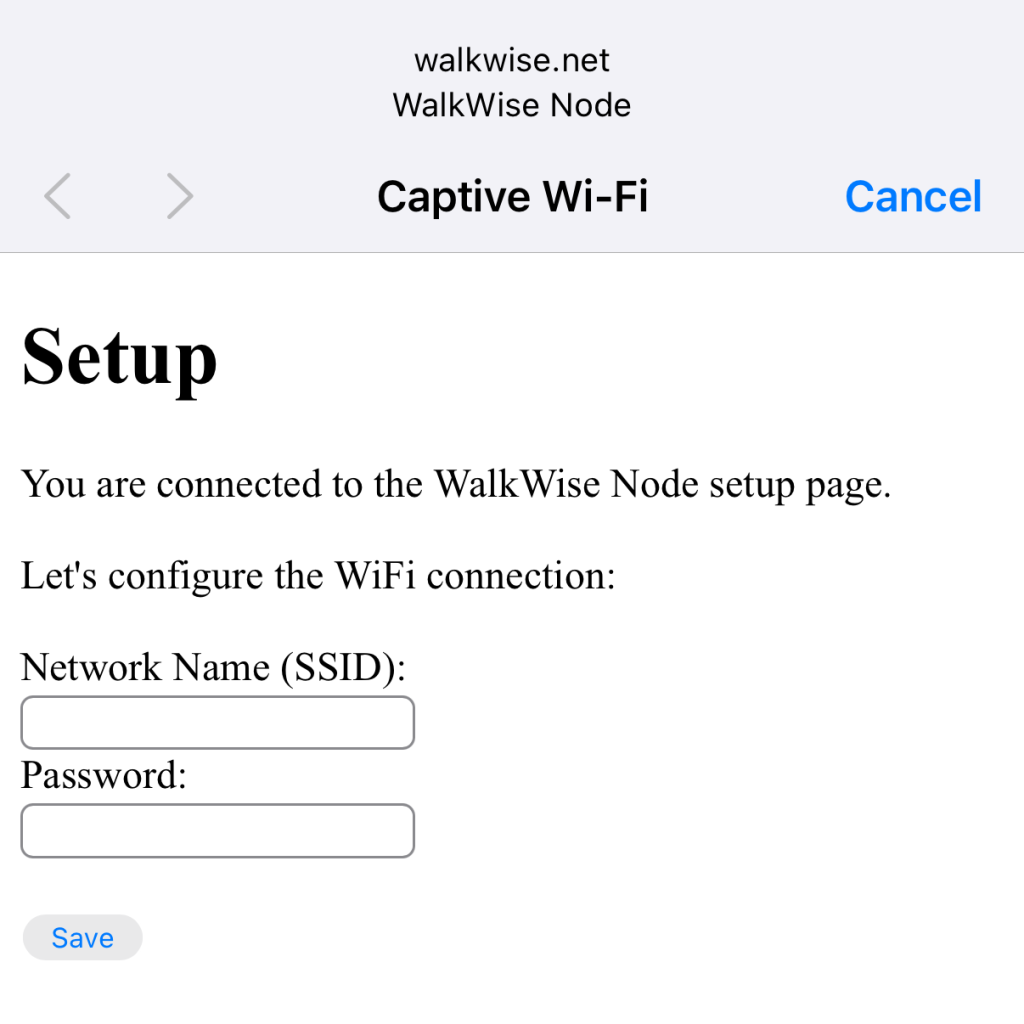
Provide the Wi-Fi Network Name & Password
In this step, you will provide the Communication Node with the Wi-Fi information it will need to connect to the internet by itself.
On the setup screen, type in the exact name of the Wi-Fi network, including correct capitalization and punctuation. Do not use a 5G network (most of these networks will have “5G” in the name).
Below, type in the security key or password for the Wi-Fi network.
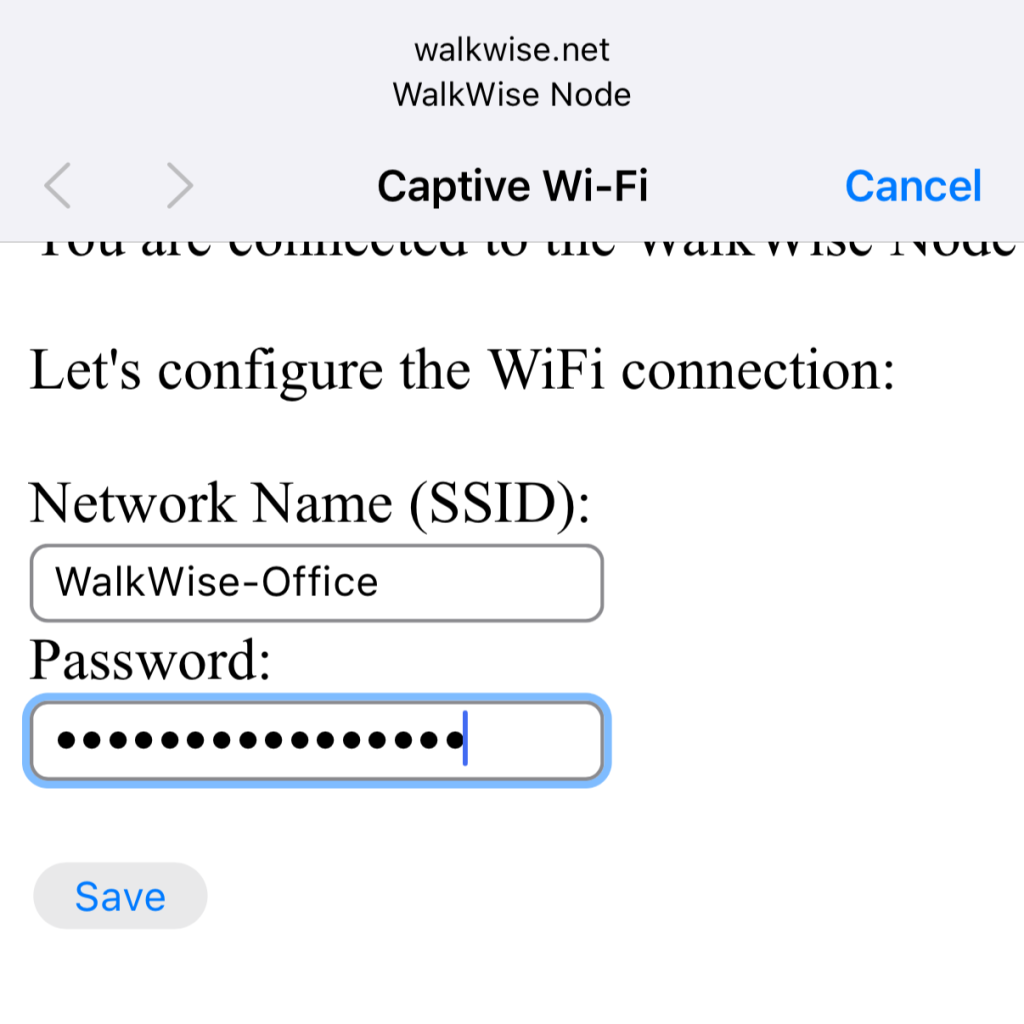
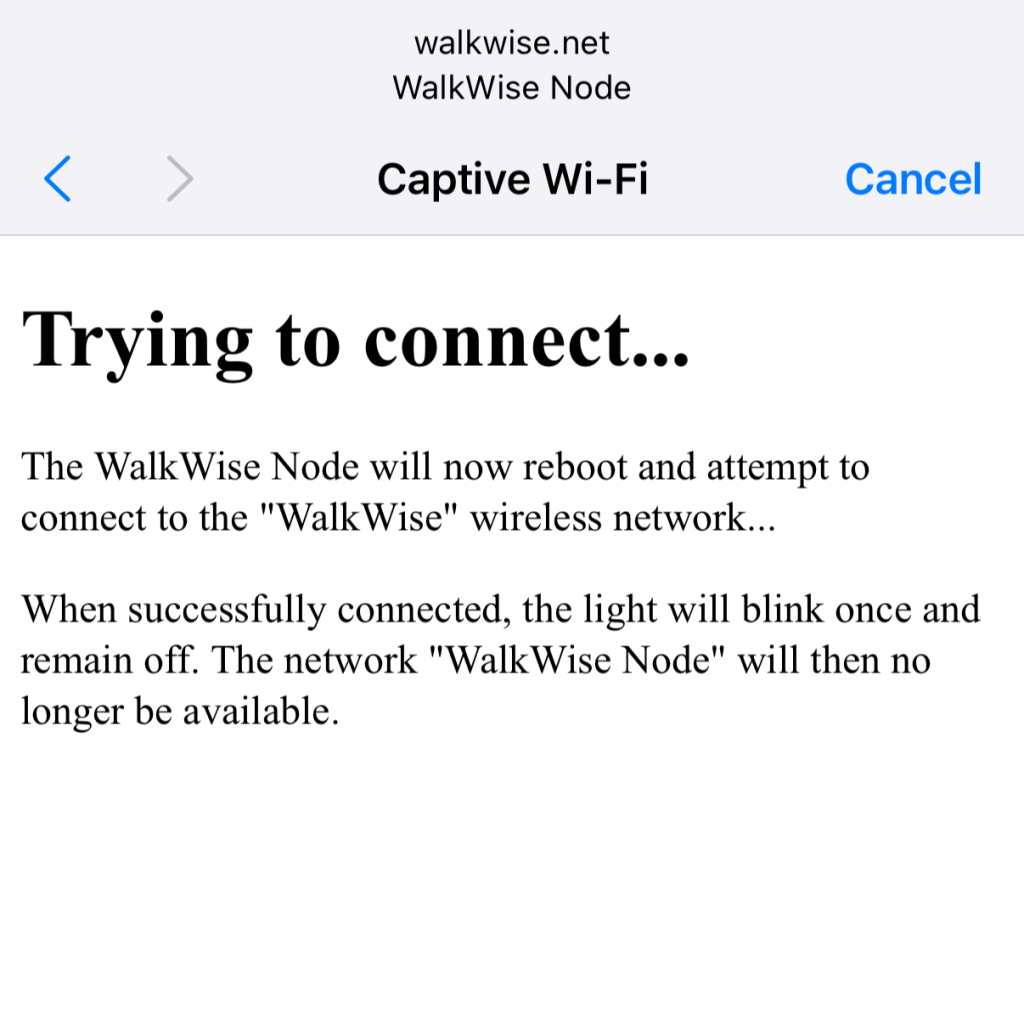
Click Save, and the Communication Node light will blink green as it attempts to connect directly to the Wi-Fi network.

If the light turns off, proceed to the next step!
If the light continues to blink, try re-connecting to the WalkWise Node in the Wi-Fi settings and repeating this step.
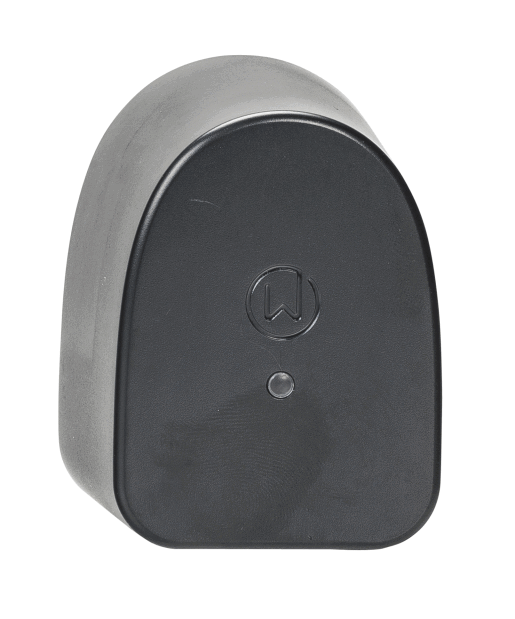
Remove the battery tab from the device
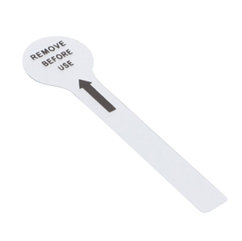
Make sure to activate the device by removing the plastic battery tab!
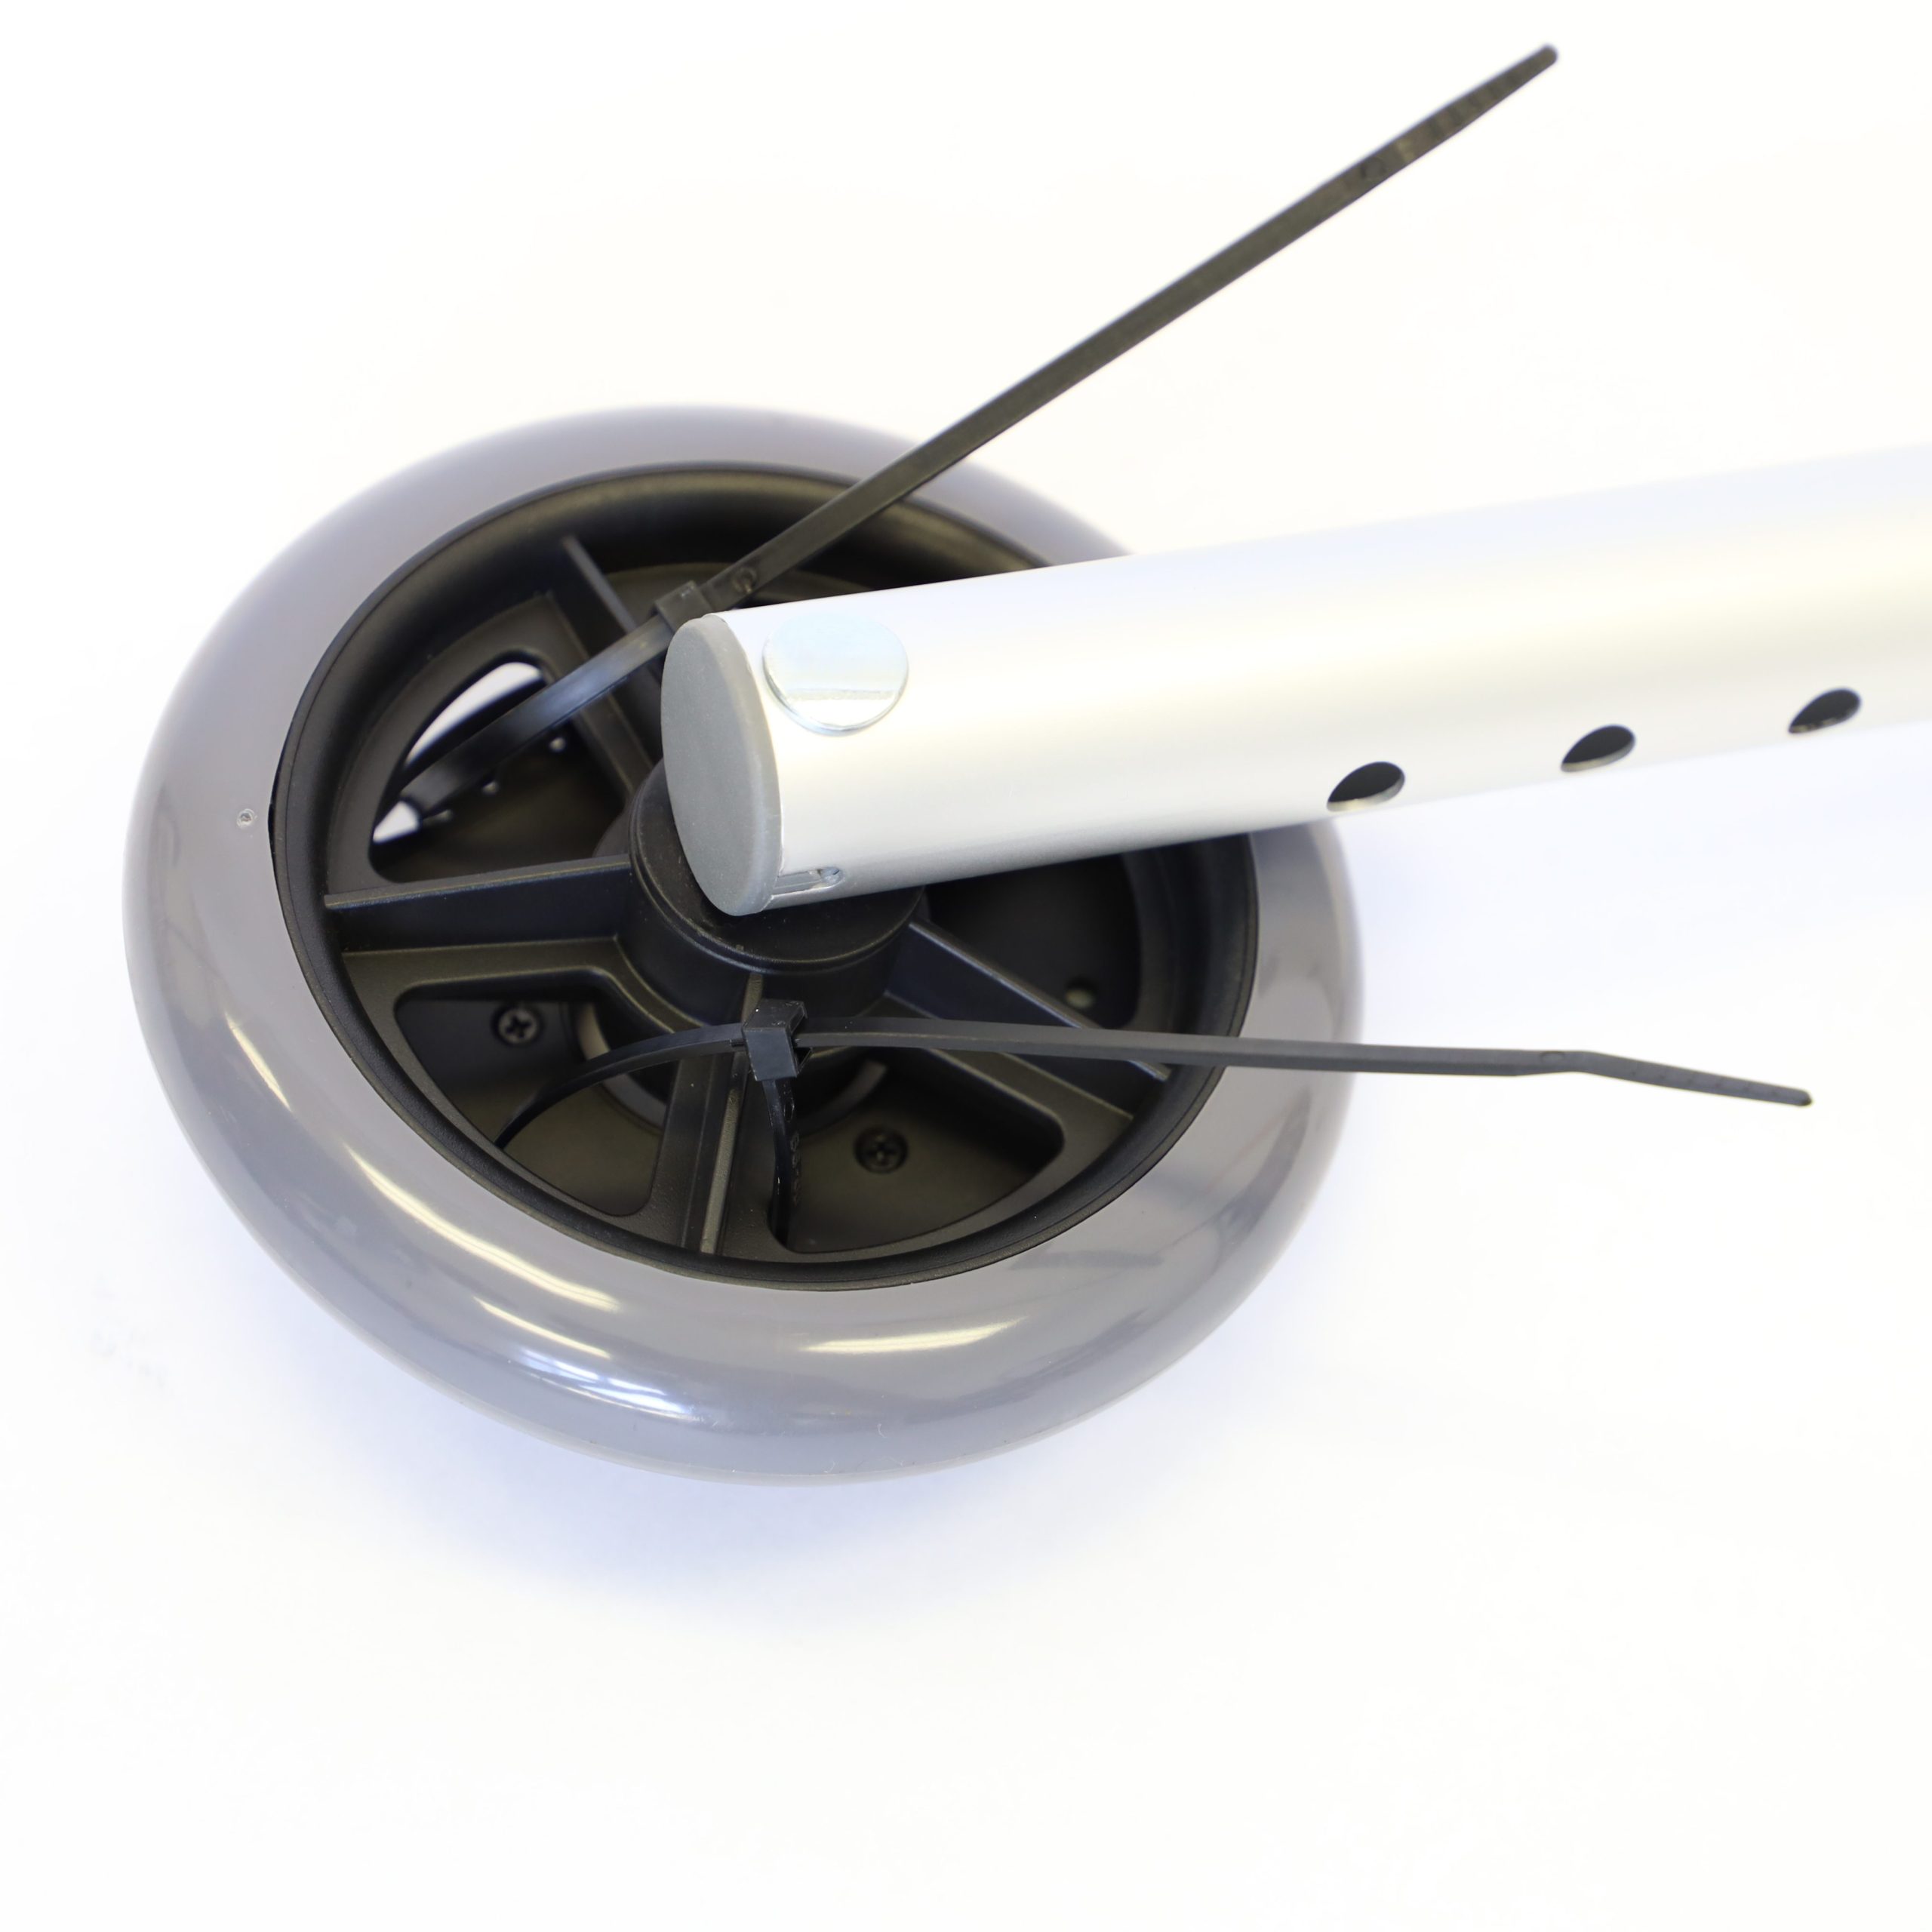
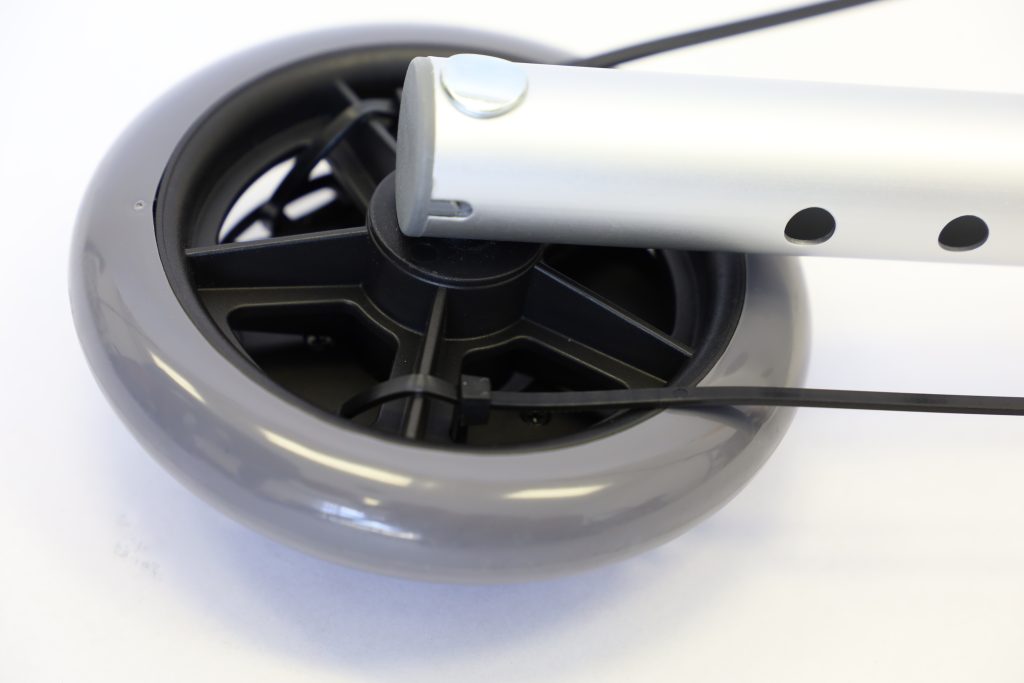
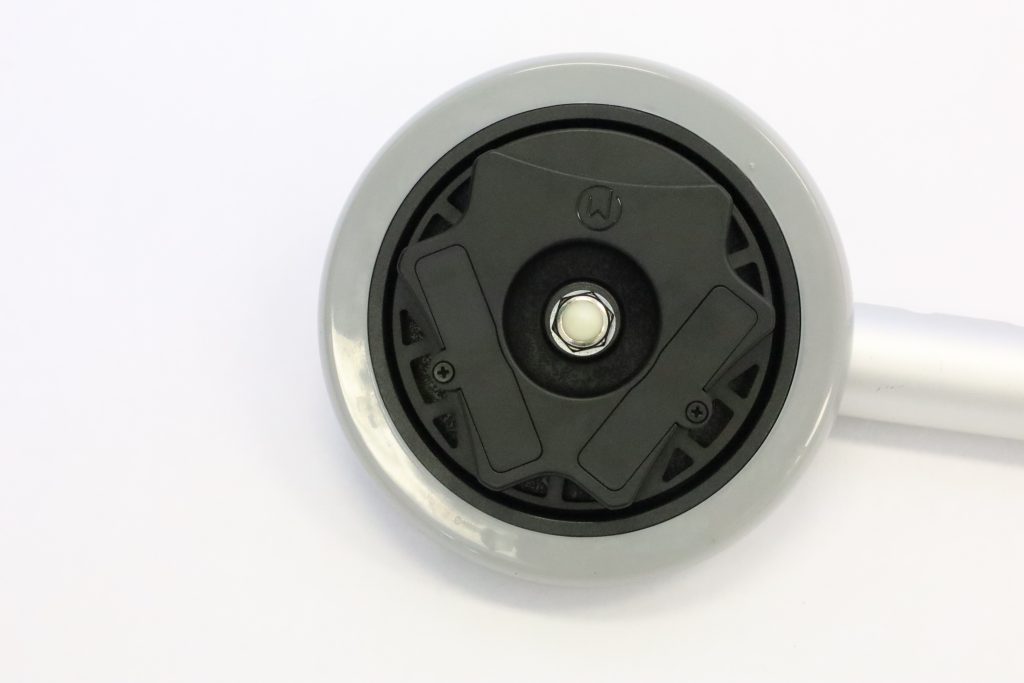
Attach the device to a wheel
In this step, you will attach the WalkWise device to a wheel on the walker or rollator. For most wheels, you will use Zip Ties to attach the device. If your wheel does not have spokes, you will use the Adhesive Strips.
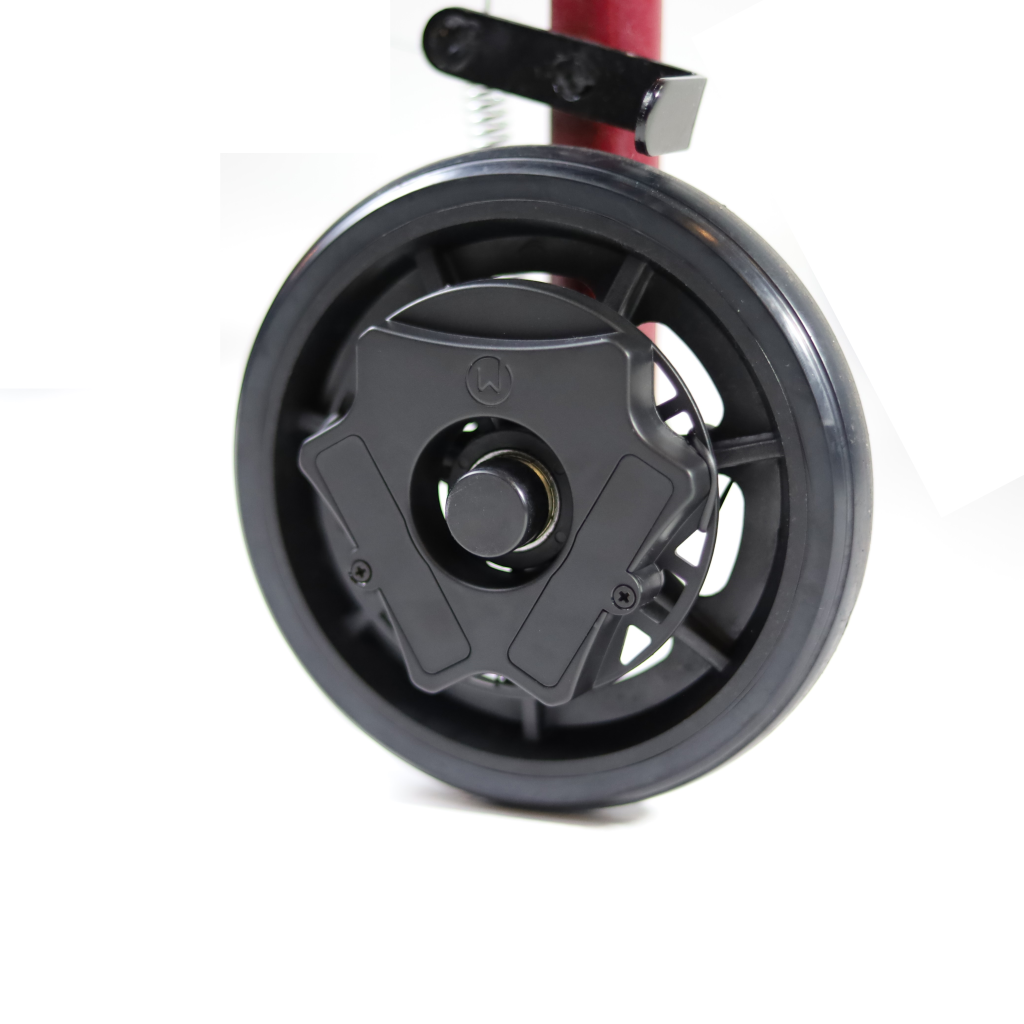
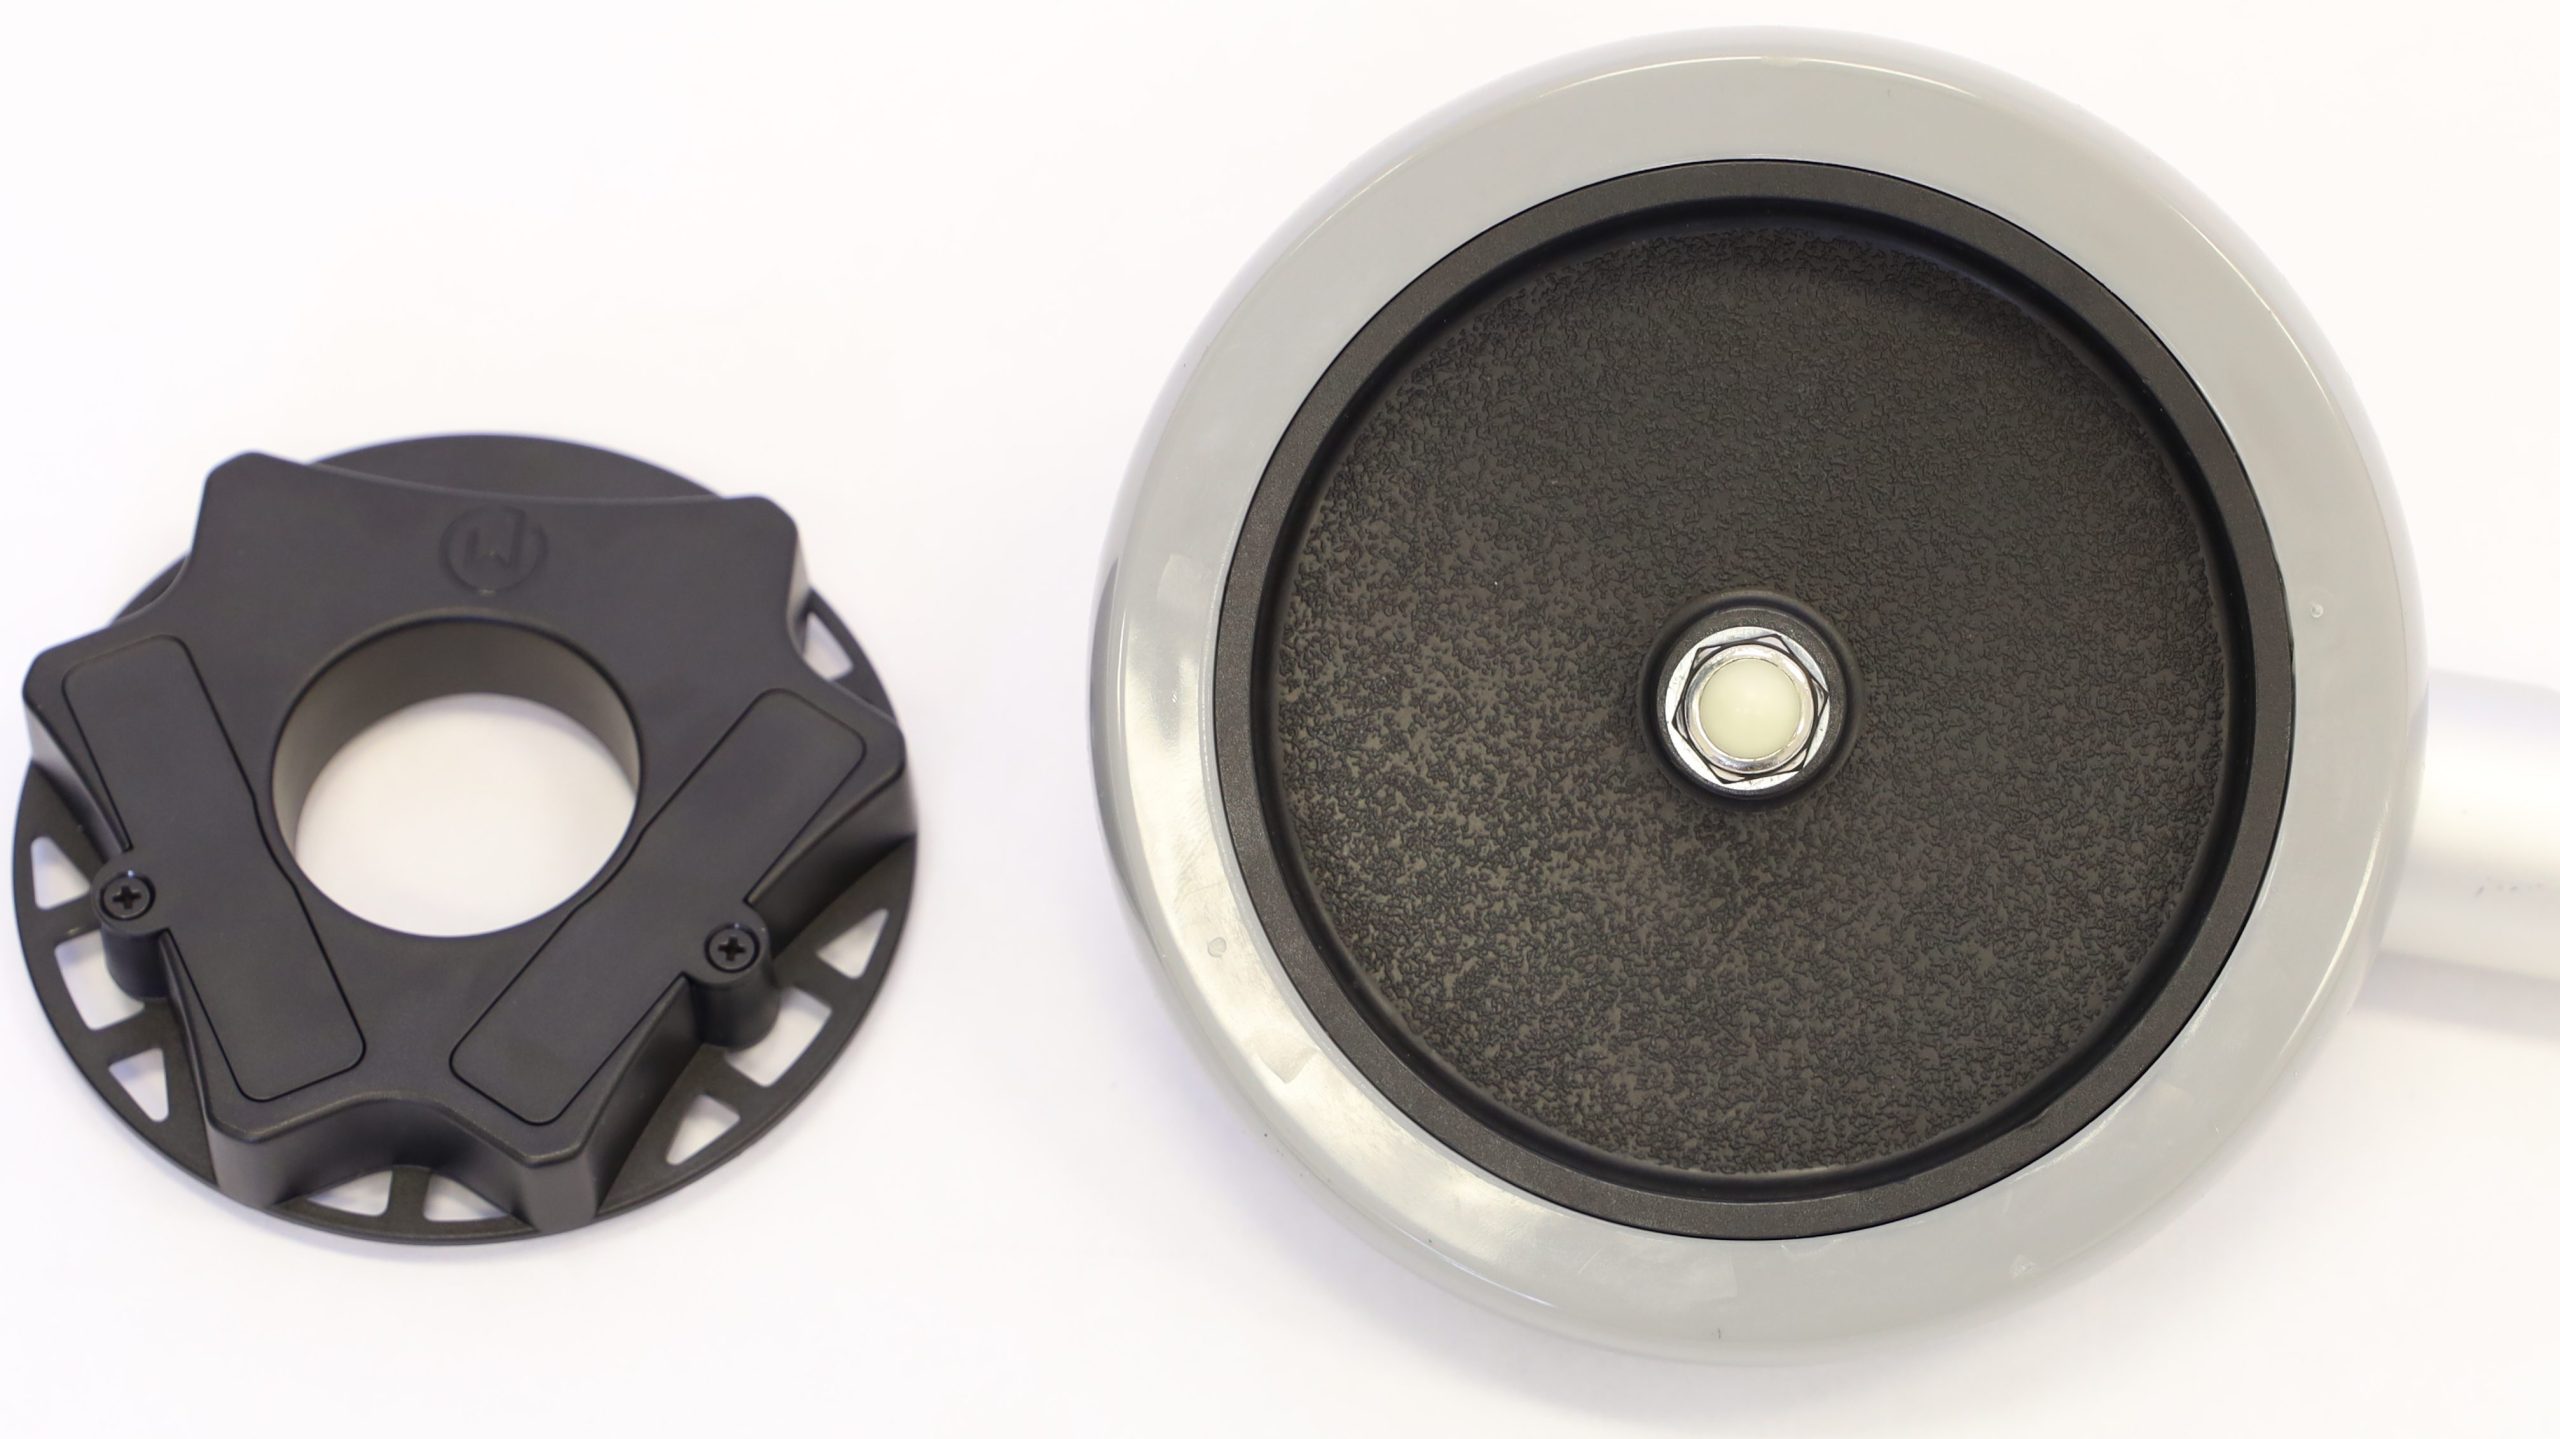
Wheel with spokes
(use Zip Ties)
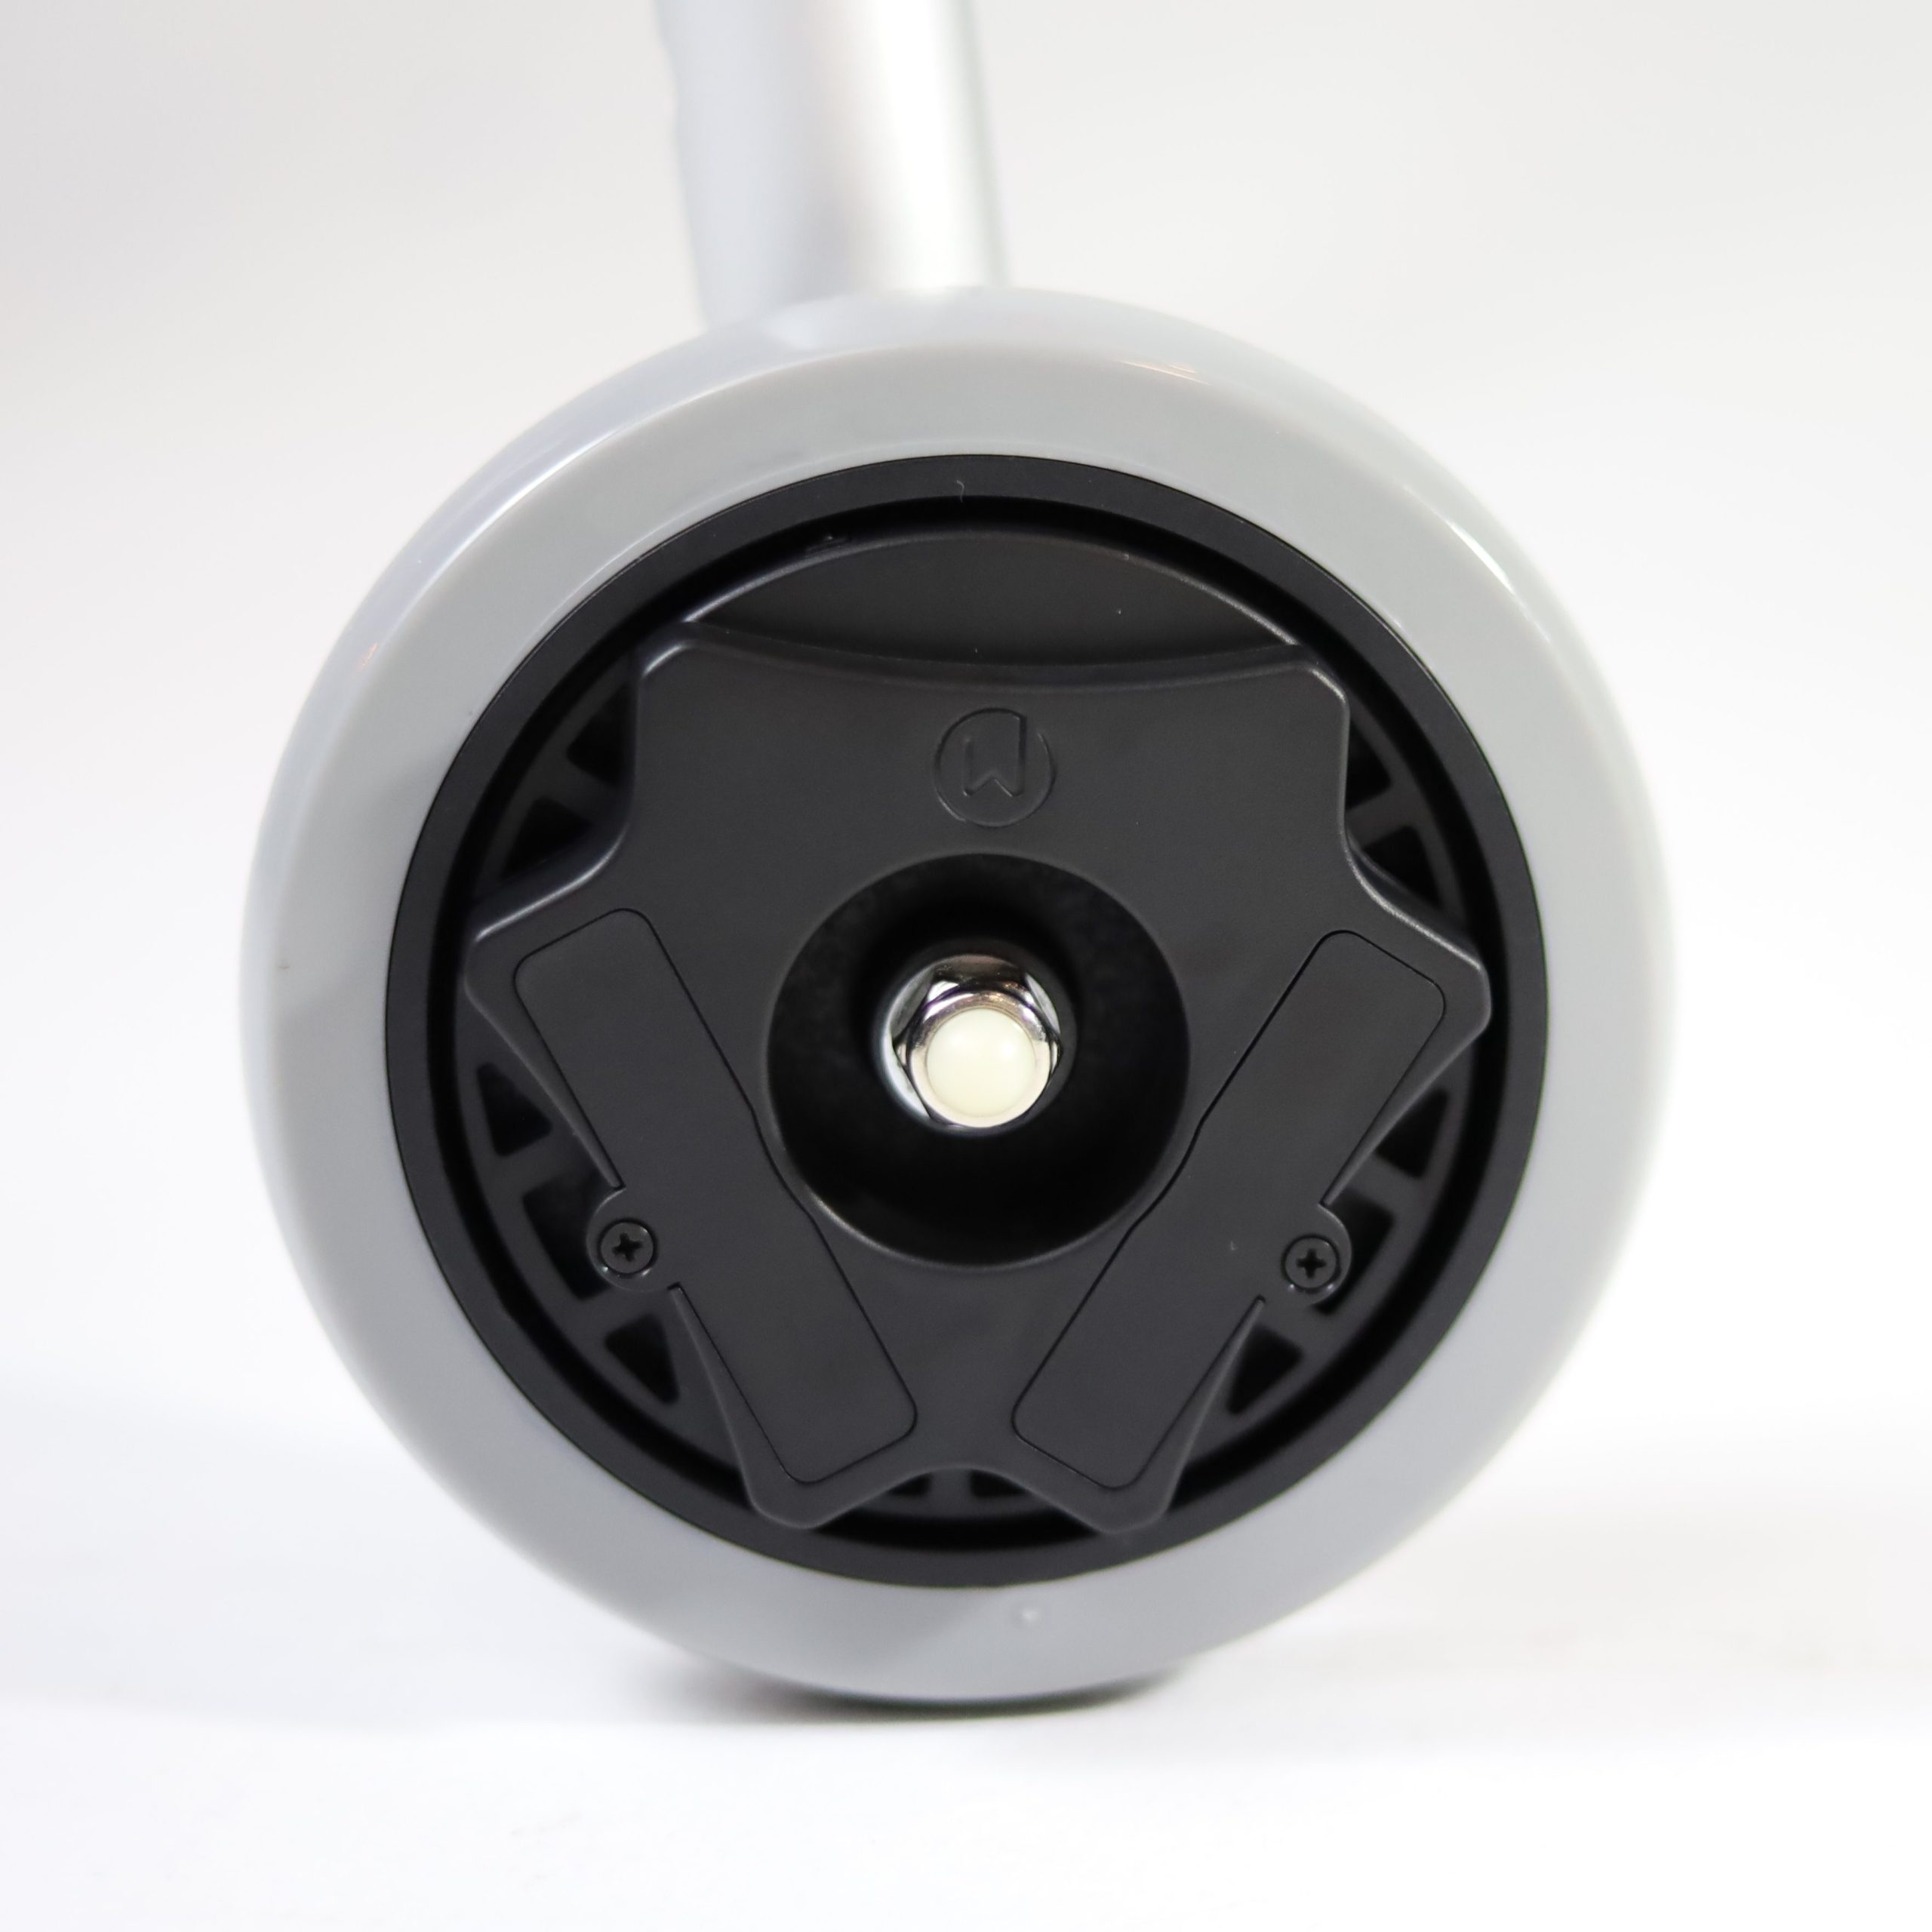
Wheel without spokes
(use Adhesive Strips)
Attach with Zip Ties
If possible, attach the WalkWise device to one of the rear wheels of the walker or rollator (the ones closest to the user).
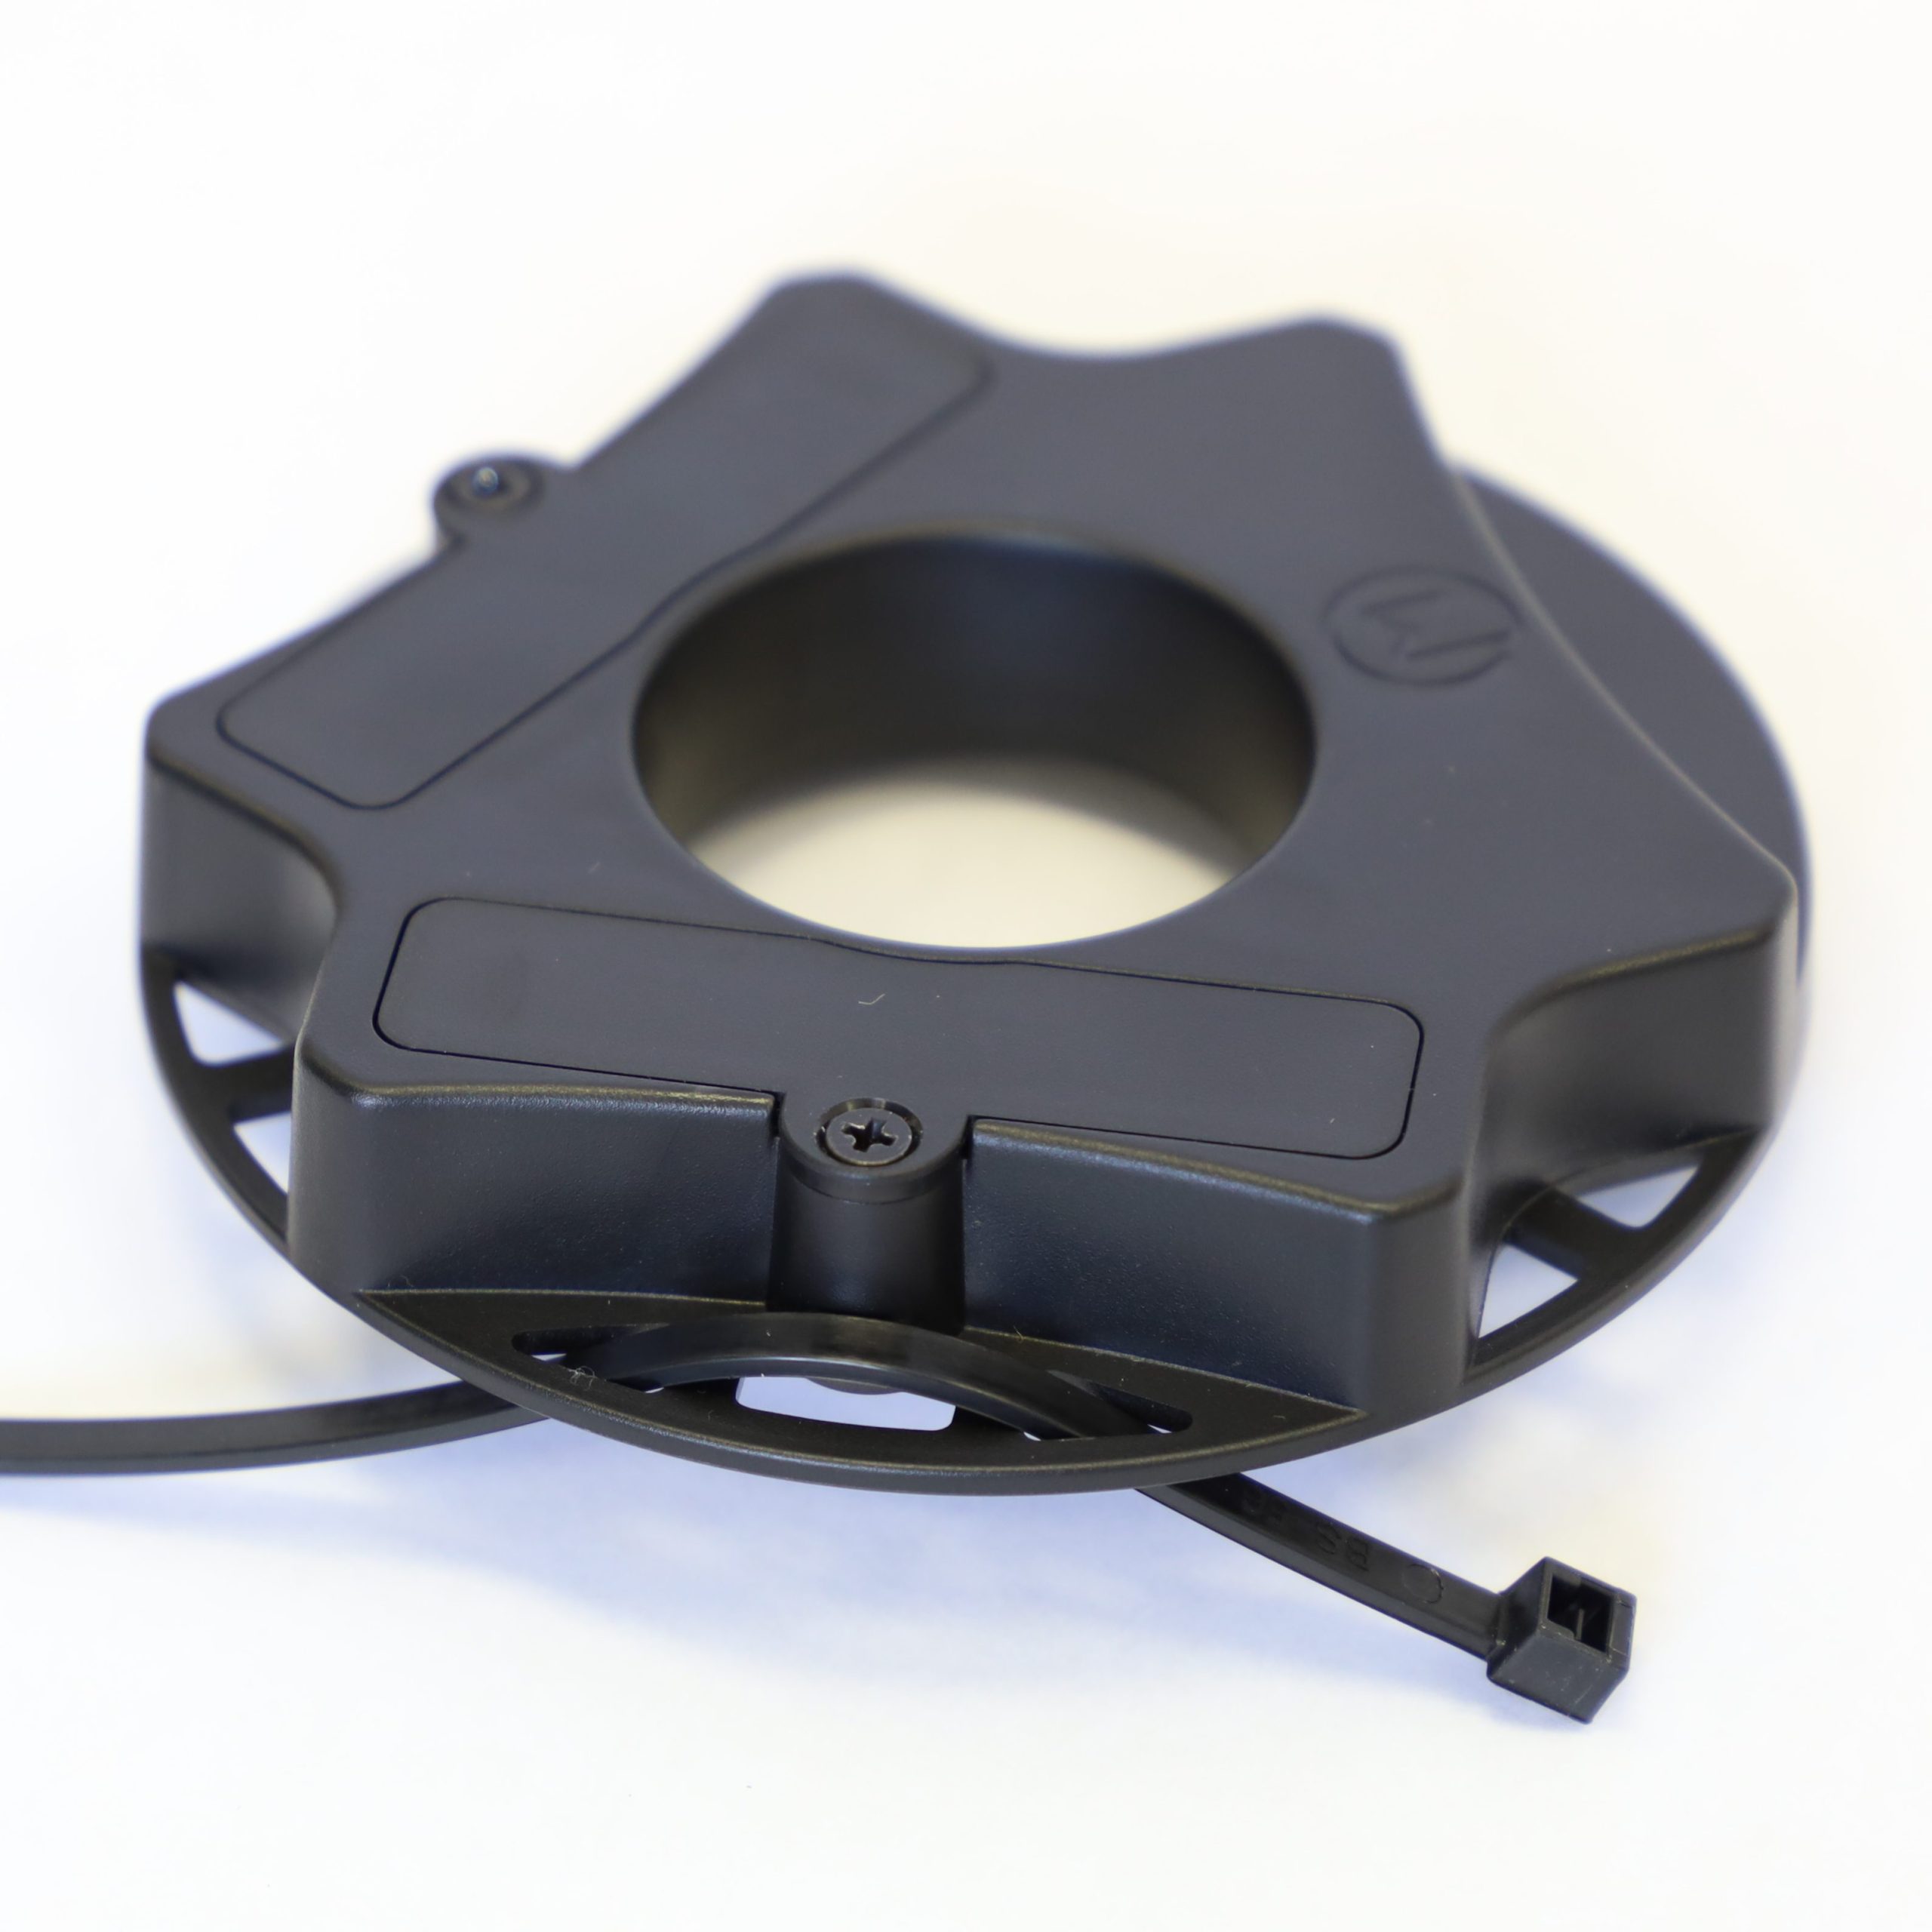
Loop 3 zip ties through the outer holes of the WalkWise device and around the wheel spokes.
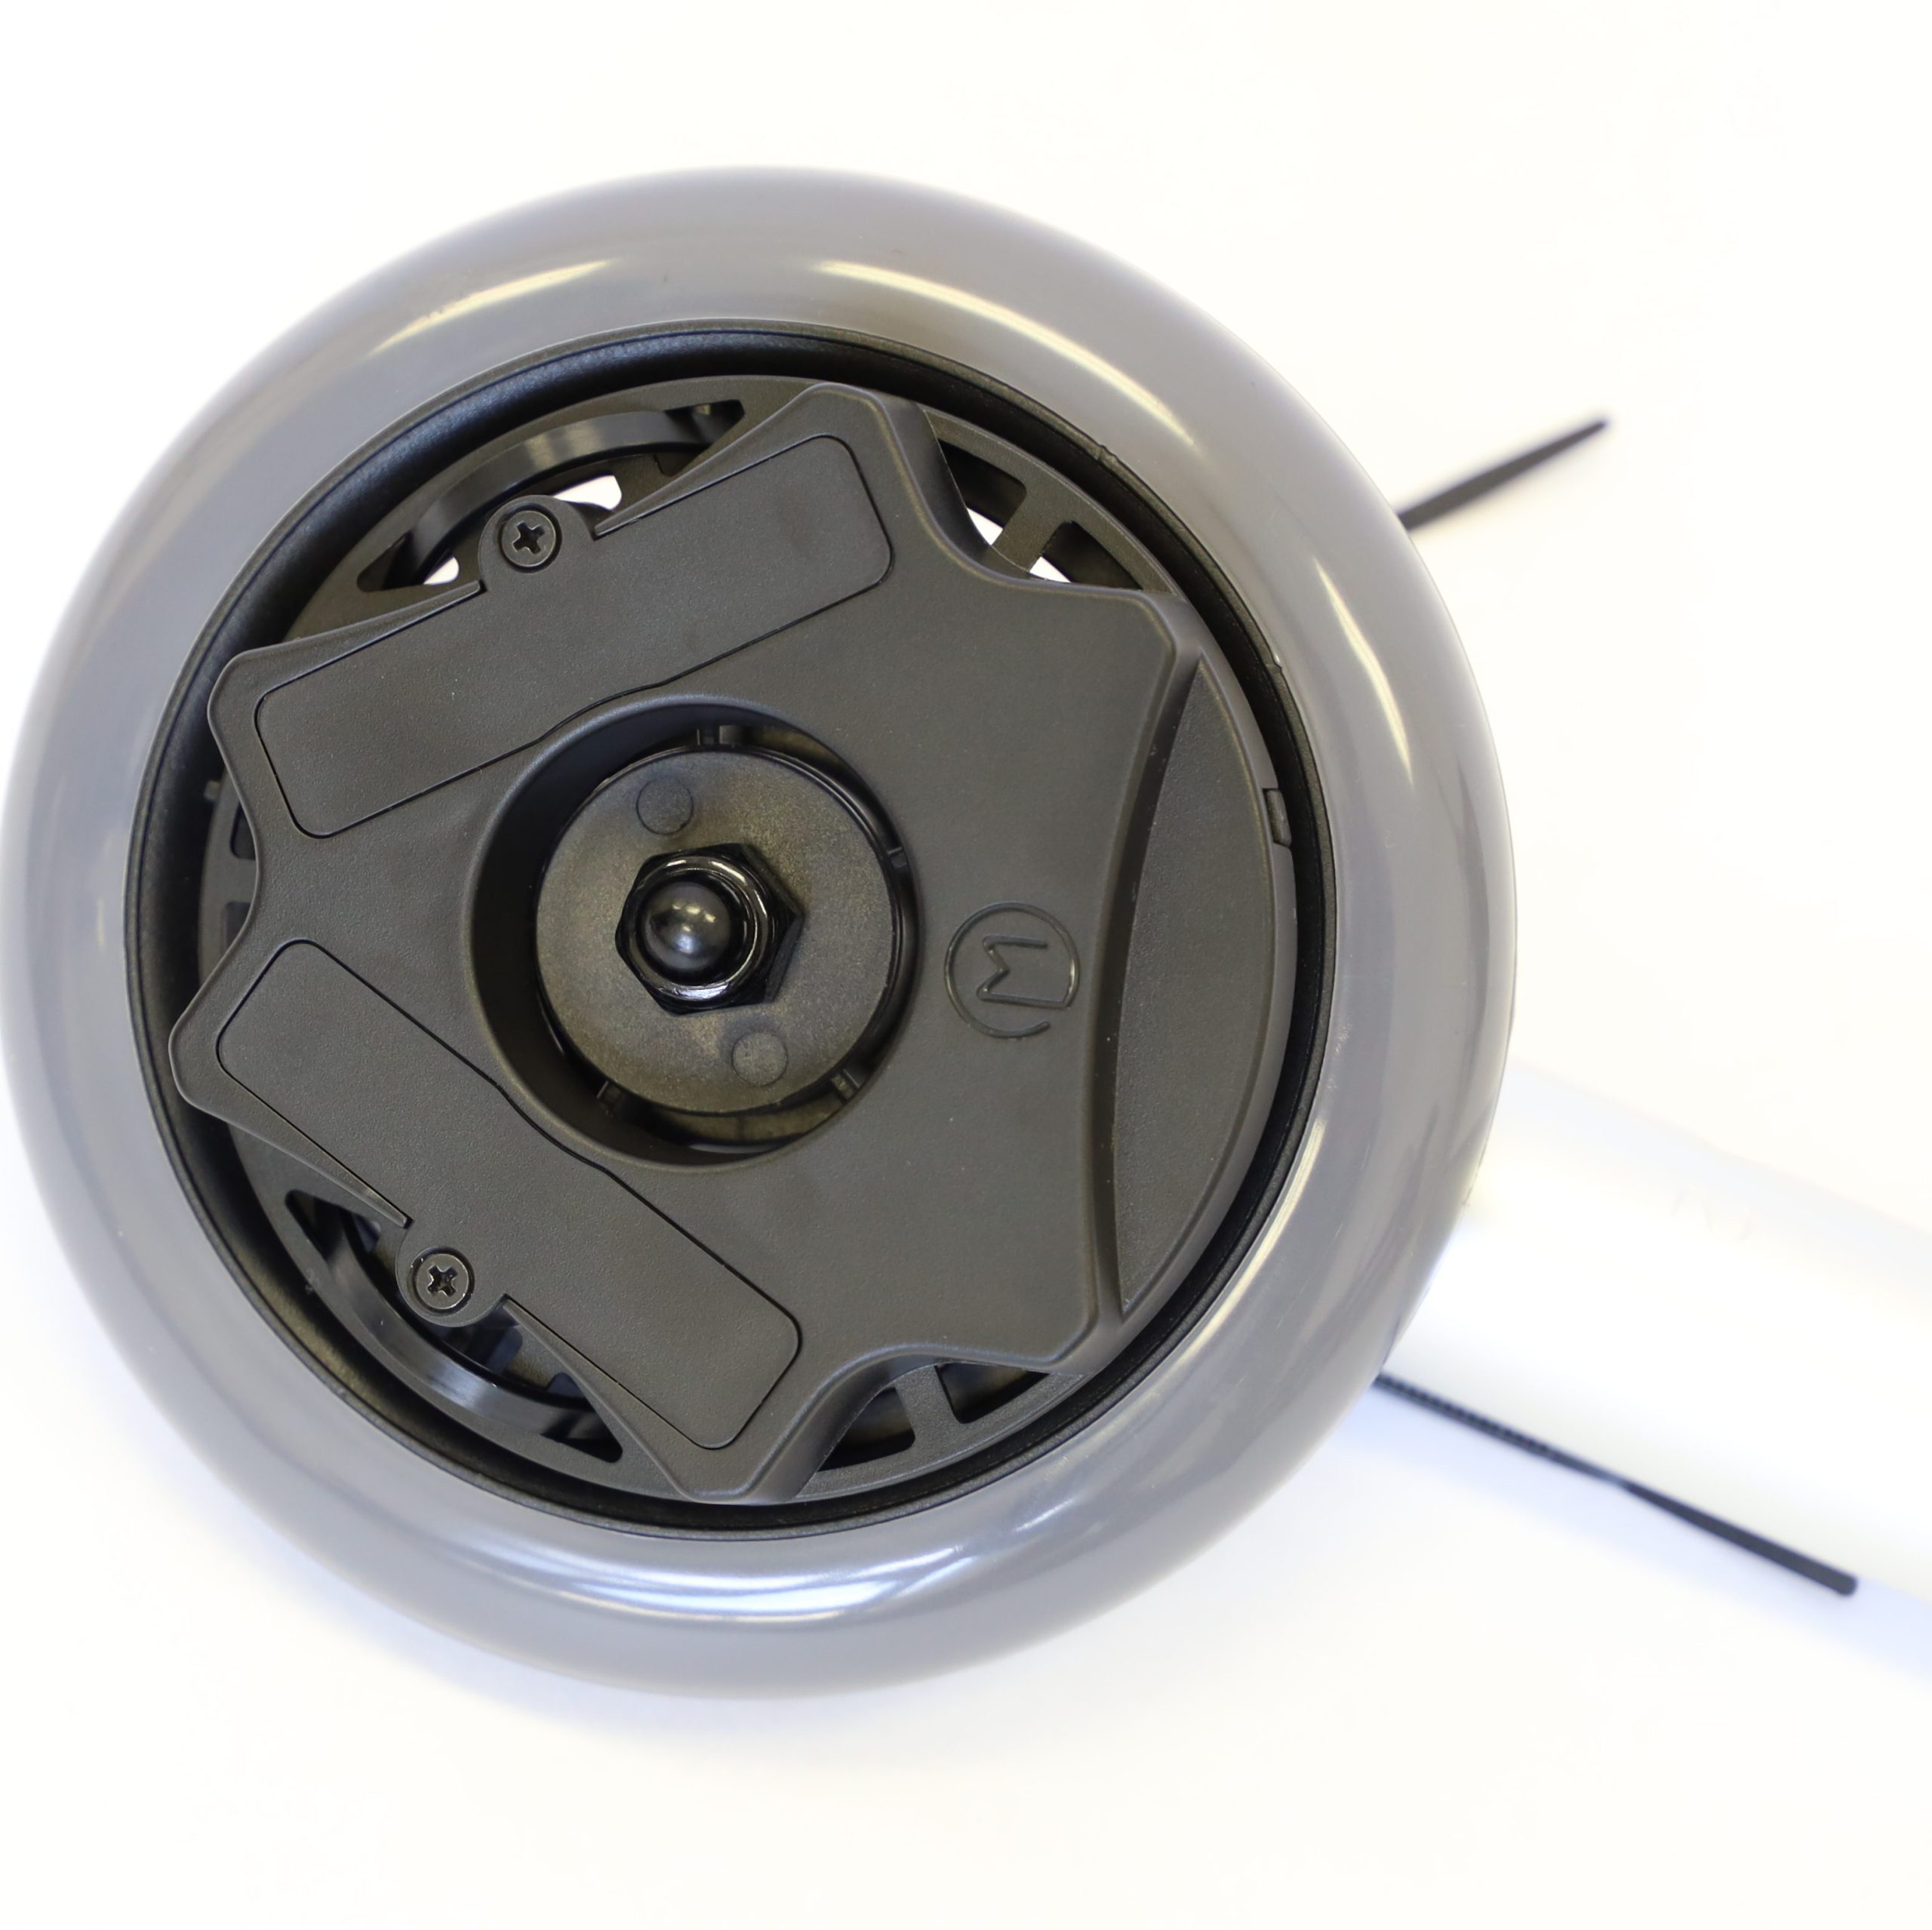
Place the back of the device (the flat side) against the outside of the wheel.
Tighten each of the zip ties around a spoke, making sure the square end of the zip tie does not interfere with rotation of the wheel.
Clip off the excess ends of the zip ties using a pair of scissors.
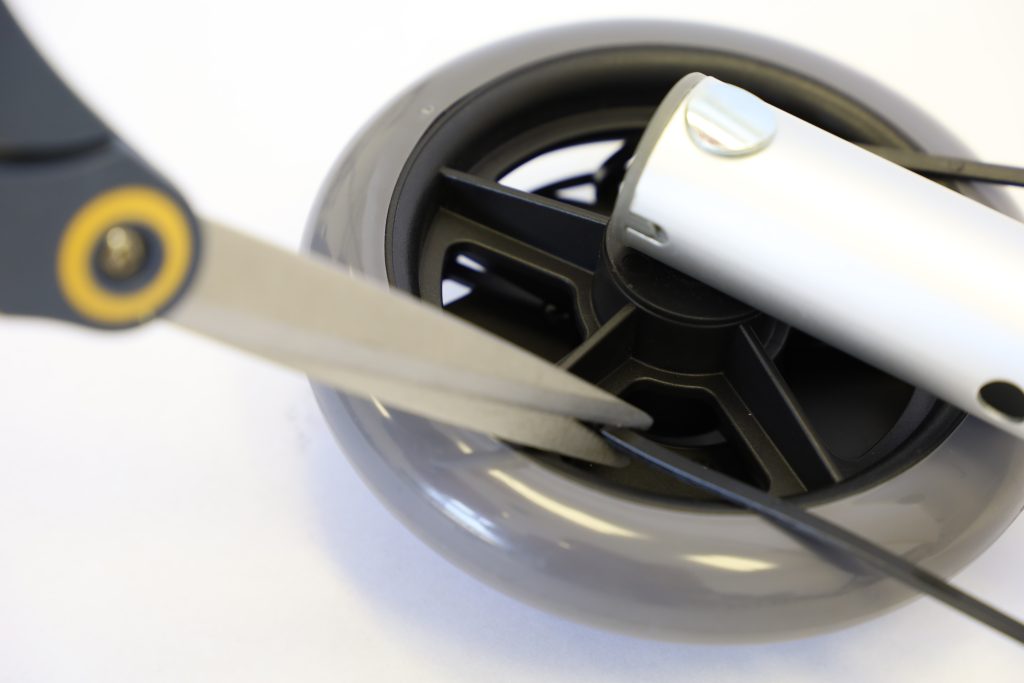
When completed, the device should be securely attached to the wheel.
It is important to verify that the zip ties do not impact the rotation of the wheel in any way. If the zip ties touch any part of the mobility aid during wheel rotation, restart the process with new zip ties.
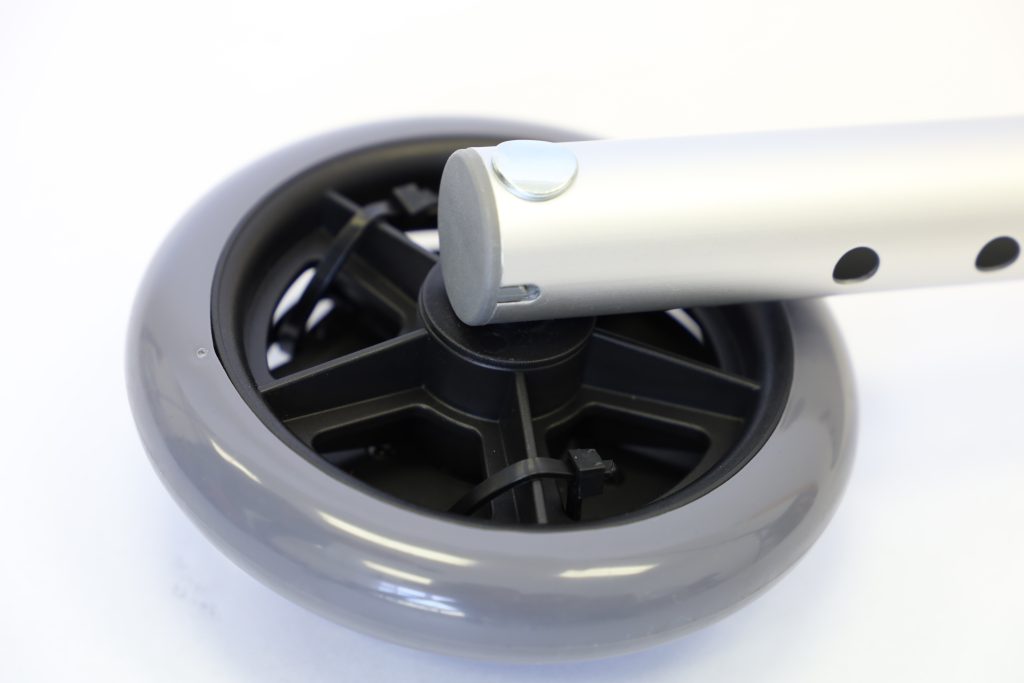
(Optional) Attach with Adhesive Strips
For wheels that do not have spokes to wrap Zip Ties around, use the provided adhesive strips.
For all 3 strips, remove the white paper backing from one side and stick them to the back of the device (the flat side) in 3 different locations.
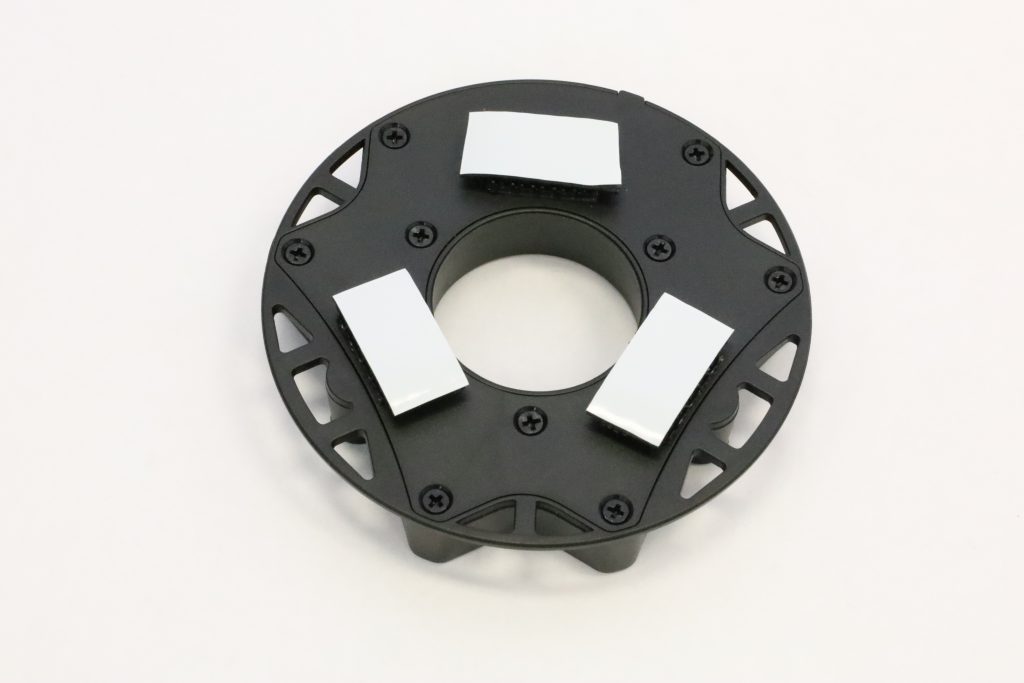
Once attached to the device, peel off the rest of the white paper backing.
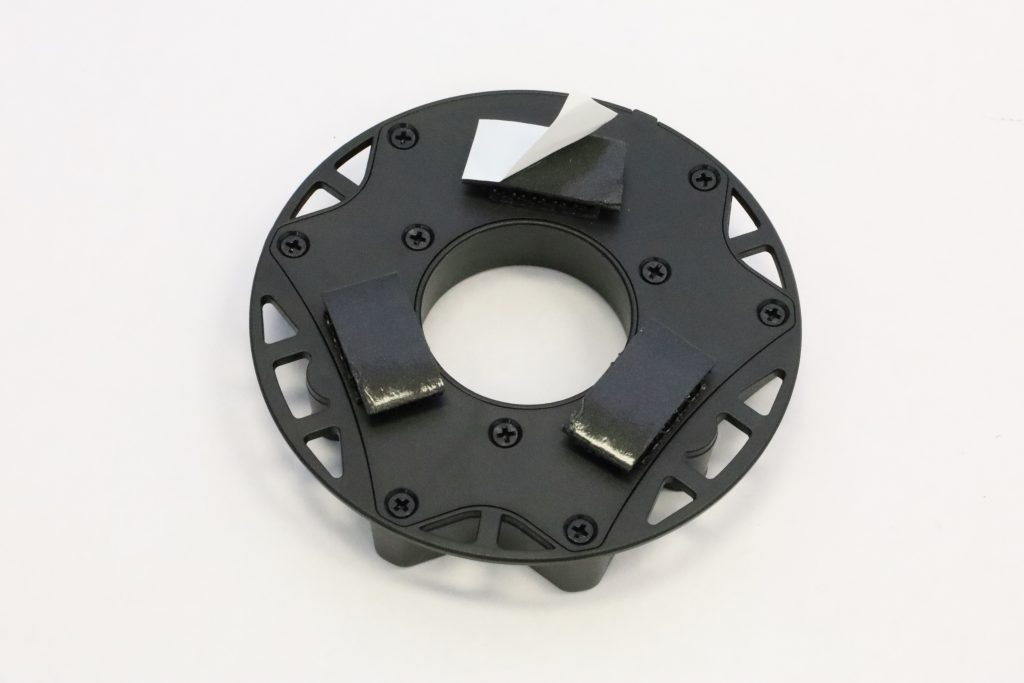
To attach, firmly press the back of the device against the solid wheel.
Ensure device communication
- While near the Communication Node, move the walker or rollator around so that the wheel fully rotates at least 2 times.
- Stop moving and wait about 10 seconds.
- The Communication Node should blink a few times, indicating that the device successfully transmitted data into the WalkWise system.
Troubleshooting
If the Communication Node does not blink, try this step again. If the issue persists, make sure the plastic battery tab is removed from the device. If the Communication Node light is continually blinking or does not turn off, try to re-connect to your Wi-Fi network using the steps above.
Setting up the device in the App
Once the device is on the walker or rollator, it is time to set up the device in the app.
Download the WalkWise by Drive app on the Google Play Store or Apple App Store.
WalkWise/Drive
Log in with the account created earlier, when choosing a subscription option.
The app will guide you through configuring the name of the user, choosing a device name, measuring the wheel diameter, and configuring other various settings.
Need assistance?
We’re here to help! Visit the Drive Medical At Home support page, email us at walkwise@drivemedical.com, or call us at 805-242-8015.
WalkWise by Drive is a General Wellness product as defined under FDA guidance. It provides mobility analytics and activity monitoring to support a healthy lifestyle. While WalkWise by Drive is designed for use in clinical and home settings, it is not a regulated Class II medical device, has not undergone 510(k) pre-market review, and is not intended to provide life-critical alarms or replace professional clinical judgment.